Strainly‘s goal is to foster the preservation of phenotypes, which indeed means, under the form of seeds (or “beans”). Seeds are essential to genetic preservation, and successfully germinating seeds is integral to long term preservation… This month, we are thrilled to have the team at Radicle Technologies, share their knowledge with our members. They’ll try to cover the different ways to germinate your magic beans and explain the Pros and Cons associated with each method, so that you can decide what’s the best option for you…
So you’ve got your seeds, now what? Chances are you spent a pretty penny and went through some trouble in obtaining these seeds, so it’s important that you do everything you can to ensure that these seeds turn into big, healthy plants. And the first step in this long process is getting those seeds to pop!
The Seeds’ Needs
Although countless parameters contribute to successful seed germination, several factors are paramount:
- Moisture/Humidity: Seed germination is triggered by imbibition, the absorption of water into the seed. Therefore, without any water source, a seed simply will not germinate. Following this initial imbibition event, it is critical that the seed’s moisture is constantly maintained or development will stall and the developing seedling will die off. Moisture can be maintained either by germinating the seedling in a controlled environment in which the air is saturated to maximum humidity or by ensuring that the germination medium (towel, rock wool, soil, etc.) is constantly moist. At the germination stage, the seed has a store of nutrients in the form of the endosperm, so the water does not need to be supplemented with nutrients.
- Temperature: The temperature ranges in which a seed will germinate varies from species to species, and can even be genotype-dependent. Within this range is an optimal temperature at which maximal germinationrates can be achieved, with any deviations likely to result in reduced germination success. Some species of plants prefer alternating temperatures that cycle with day length, simulating warm days and cold nights, but many perform just as well or better under constant conditions.
- Light: Seeds of different plant species vary in their lighting requirements for germination. Some species require darkness to germinate, likely developed as an adaptation to ensure that the seed has found itself in an environment with substantial soil and that is conducive to the growth of a mature plant. Others require light to germinate, likely developed as an adaptation to ensure that the seed has been spread far enough from the dark canopy of more mature plants so as to have a good opportunity for survival. And still others germinate readily under any lighting conditions.
- Air (Oxygen): Although mature plants rely primarily upon carbon dioxide, germinating seeds require oxygen in order to perform aerobic respiration, which serves as the seedling’s primary energy source prior to leaf formation. Without access to adequate oxygen, as is the case in overly-compacted soil, a seedling will not germinate.
Seed Germination
Because the optimal germination conditions can vary significantly from species to species, for the sake of brevity we will focus in on seeds for the remainder of this discussion. Although optimal conditions will be genotype-dependent, a good target temperature for the germination of seeds is 78-80°F, and seeds will readily germinate in light or darkness.
A variety of methods have been developed to provide seeds with an environment conducive to germination. The ideal method to employ will depend on a variety of factors and will be situational in nature. Each of these methods will be covered in detail below, but first, a quick rundown:
- Imbibing: Seeds are placed in water before being transferred to a growing medium.
- Paper Towel: Seeds are placed between two layers of moistened paper towel before being transferred to a growing medium.
- Germination Paper: Seeds are placed between two layers of moistened paper designed specifically for seed germination before being transferred to a growing medium.
- Direct Seeding: Seeds are placed directly in the growing medium, typically in flats.
Imbibing
How To:
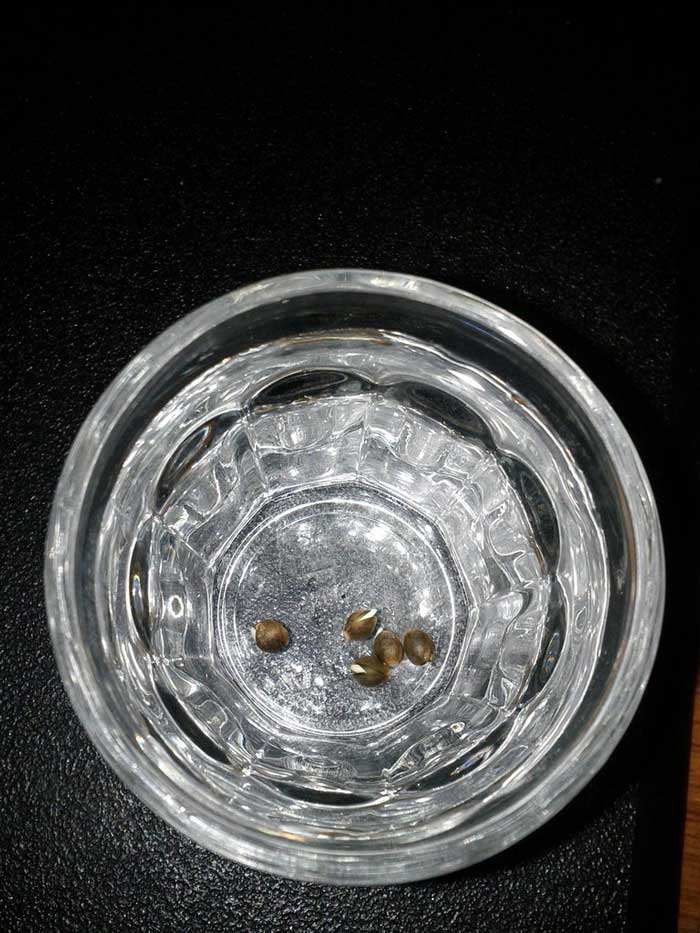
- Fill a cup with water. It is best to reduce impurities that may interact with the delicate embryo, so RO water is ideal. Additionally, ensure that the water is well-oxygenated so that respiration can occur. Place the cup in a controlled-atmosphere environment to ensure that the temperature is maintained as close to your target temperature as possible.
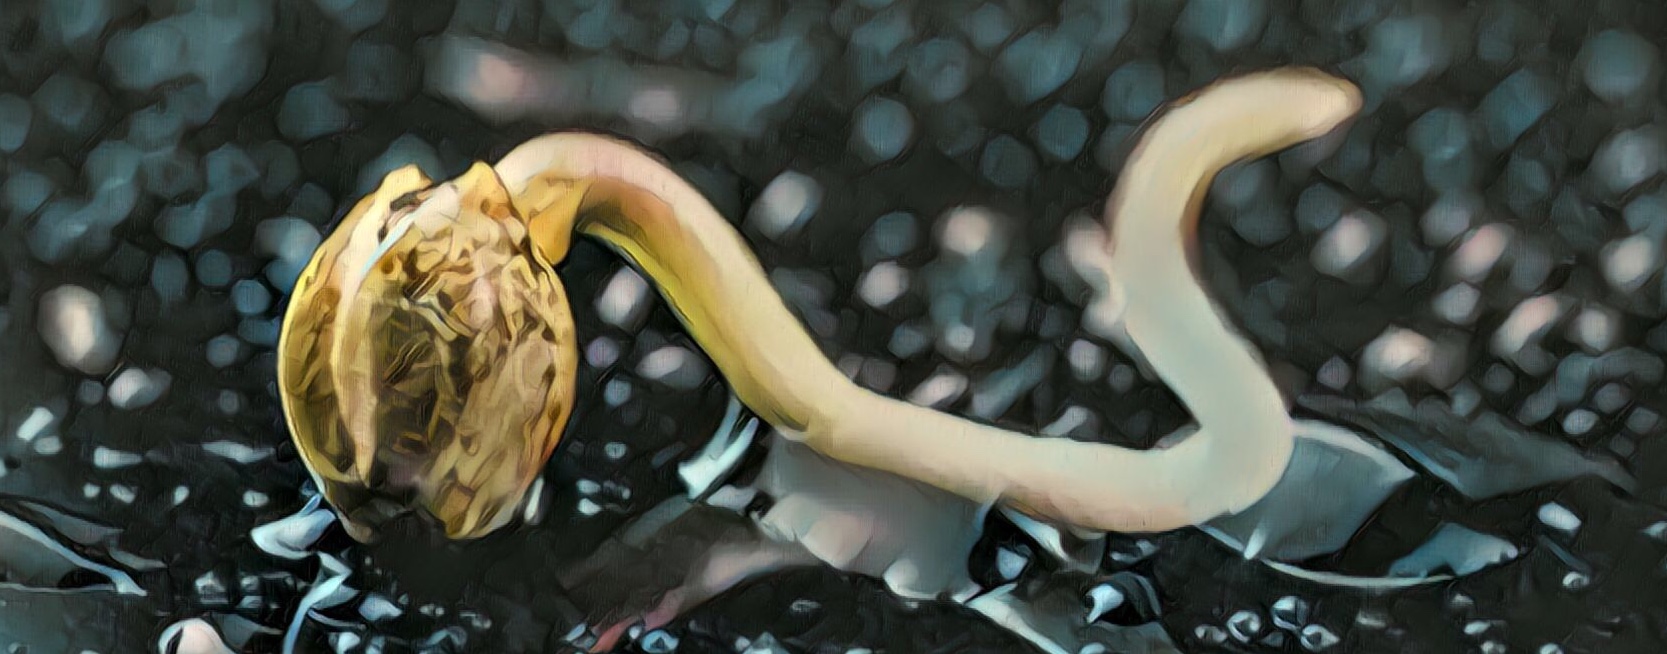
- Drop Seeds. Place your seeds in the water and mix them around a bit to reduce surface tension. Let the seeds soak for 24-48 hours, at which point the majority of the seed coats should be cracked, revealing a small radicle beginning to emerge.
- Gently move each seed from the water into your growing medium.
Pros:
- Simple: This is about as simple as it gets. Drop the seeds in water and watch as they sink and a radicle emerges.
- Space-efficient: Hundreds of seeds can be germinated with this method in just a small amount of water.
- Minimal Risk: The greatest risk to any germinating seedling is the potential of drying out. Because the seeds are immersed in water, this is not a concern.
Cons:
- Handling: This method requires additional handling steps, which are typically avoided due to the risk of damaging the seedling. Following imbibition, the seedlings must be transplanted to another medium for further development, and it is common practice to transfer to a paper medium then a growing medium. Therefore, imbibition represents an additional step that is simply avoided with other germination methods.
- Risk of drowning: Unless the water is continuously oxygenated, care must be taken to ensure that the emerging seedlings have access to oxygen. It is critical that the seeds not be left in still water for longer than necessary in order to minimize this risk.
Paper Towel
How To:
- Wet paper. Dip the paper towel in water so that it is saturated, then squeeze a little out so that it is not dripping, but still moist.
- Place seeds. Lay your seeds down so that they are evenly spaced over on half of the paper towel. Leave about an inch between each seed.
- Fold paper. Fold the other half of the paper towel over so that the seeds are sandwiched between two layers of paper towel.
- Place the paper towel with seeds into an airtight container. A Ziploc bag works well.
- Once the radicle has emerged, transplant the seedlings to the medium of your choice.
Pros:
- Cheap: Paper towels are easily obtained and cost very little.
Cons:
- Inconsistent: Different brands of paper towels vary significantly in their properties. Some are more absorptive than others, and it can be challenging to keep the seeds in a moist environment without over-saturating the paper towels. Many paper towels are treated with bleaches and other chemicals that can significantly reduce germination rates. Additionally, sterility is often an issue with paper towels, with some products being very susceptible to microbial contamination.
- Broken Roots: If seedlings are left in a paper towel for too long, the developing roots will begin to grow into the paper towel. When the seedlings are transplanted, these roots must be broken, stalling plant development and in many cases, killing the seedling.
Germination Paper
How To:
- Wet paper. Dip the germination paper in water so that it is saturated.
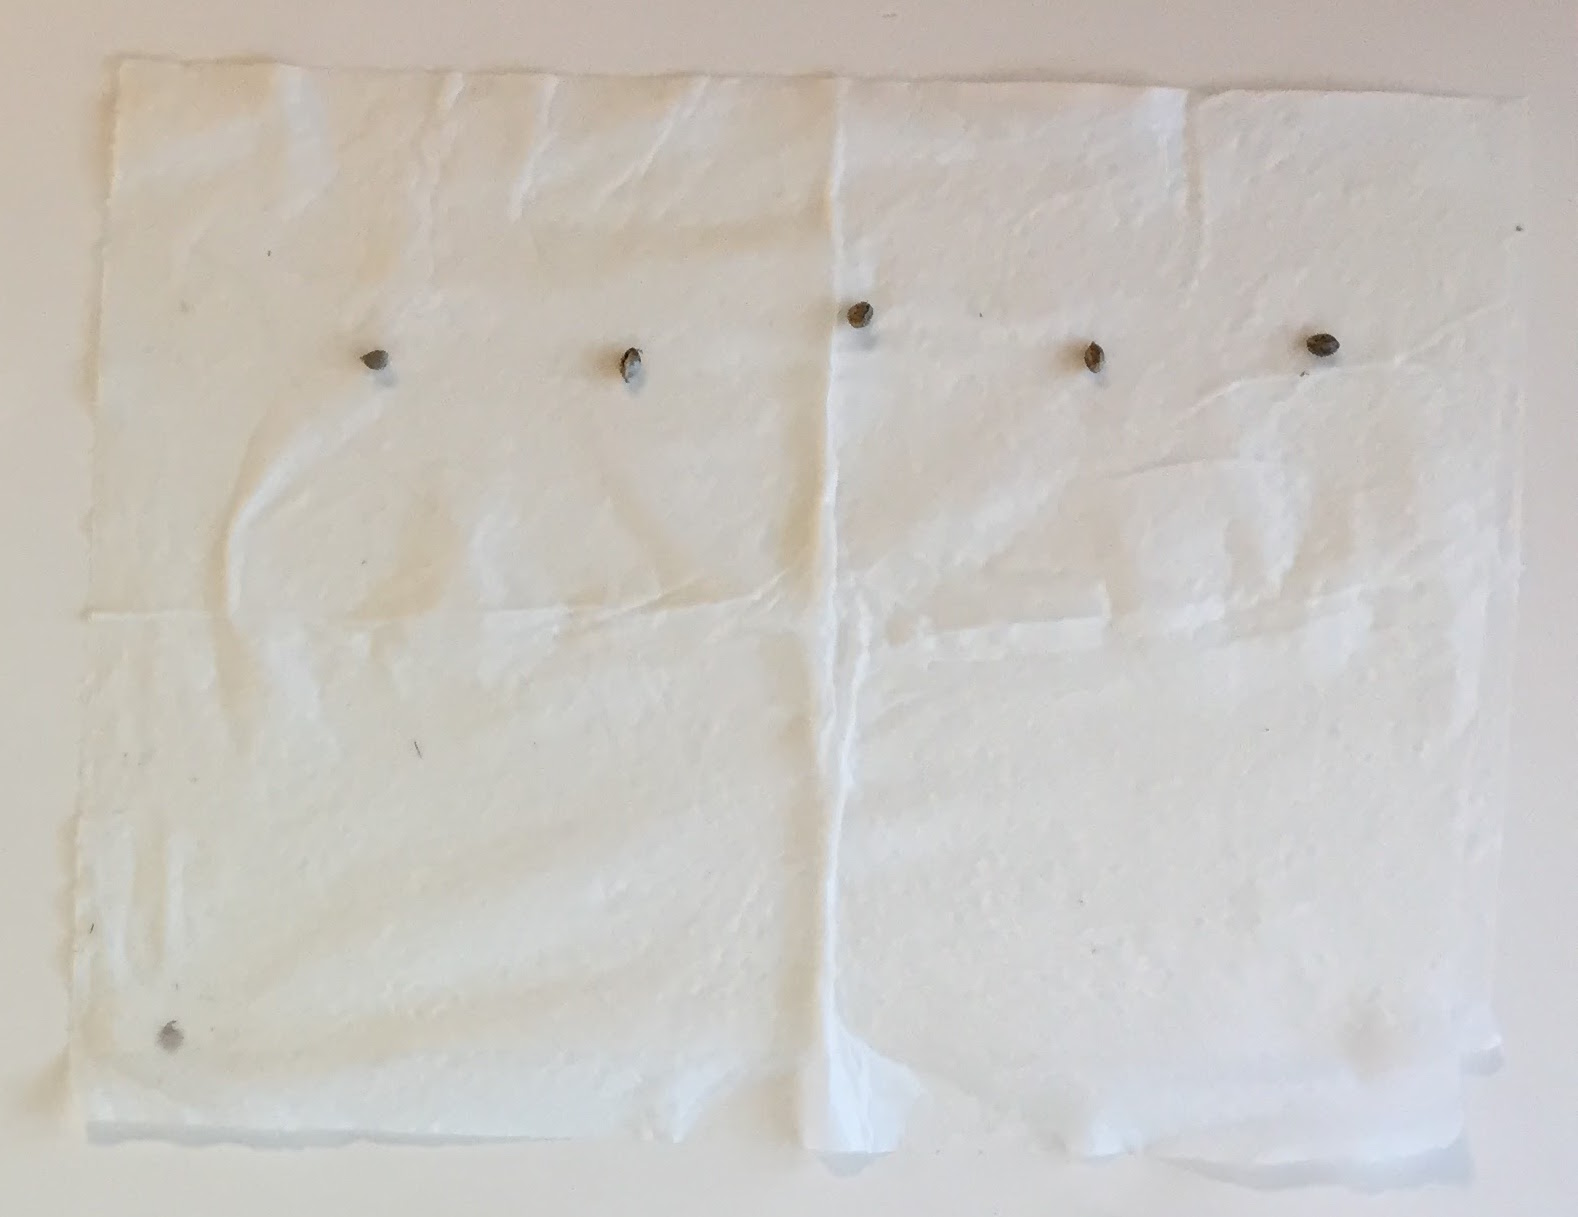
- Place seeds. Lay your seeds down so that they are evenly spaced over on half of the paper. Leave about an inch between each seed.
- Fold paper. Fold the other half of the paper over so that the seeds are sandwiched between two layers of paper.
- Place the paper towel with seeds into an airtight container. A Ziploc bag works well.
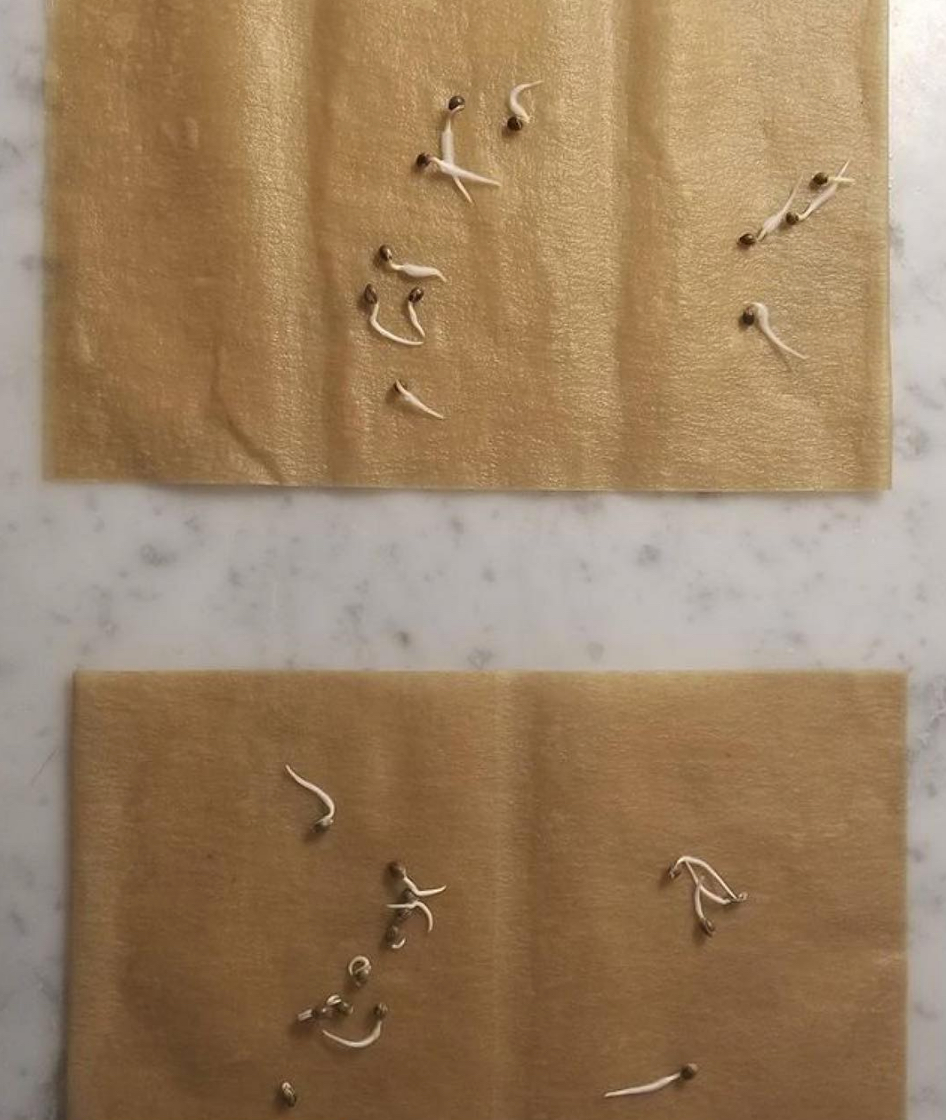
- Once the radicle has emerged, transplant the seedlings to the medium of your choice.
Pros:
- Consistent: Germination paper is manufactured specifically to germinate seeds, and undergoes quality control measures to ensure that the paper meets specifications that are important for this application. Wet tensile strength, absorption capacity, pH, and fiber content are typically controlled, ensuring that a consistent, reliable product is produced. Additionally, germination paper is not treated with any chemicals or bleach, which may inhibit seed germination.
- No Broken Roots: The fiber structure of seed germination paper is such that roots will extend and elongate between the sheets of paper, but never grow into the paper. When germinated seedlings are moved from the paper to a growing medium, the roots remain intact and continue to develop uninterrupted.
Cons:
- Cost: Seed germination paper costs more than paper towels do.
Direct Seeding
How To:
- Prepare medium. This process will vary significantly depending on the medium being used. Rockwool should be conditioned and pH-adjusted. COIR will need to be hydrated and flushed. Soil will need to be moistened. With all of the available options, this list could go on and on. In any case, make sure that the medium is moist.
- Drop seed. Place the seed into the medium. If using a loose medium, cover the seed with a couple of centimeters of medium.
- Maintain the seeds in a humid environment, either under a dome or a fogging system. When the seedlings emerge, it is important to ensure that they receive the nutrients and lighting that they require at this stage of development.
Pros:
- No Transplanting: This method requires minimal handling, and thus eliminates opportunities to damage the seedlings. Labor is reduced as well.
Cons:
- Coarse Medium: It is important to use a medium designed for seedlings. Many growing mediums are not fine enough to support seedling development and adolescent root formation. The analogy that has been most helpful in understanding this is to imagine yourself to be the size of your seed. Large granules of media surrounding the seed are comparable to the size of boulders and don’t provide a comfortable environment to the germinating seedling.
- Water Distribution: Seedling trays have many separated cells, and much of the media is not visible due to the three dimensional structure of the trays. Therefore, it is not always evident when seeds are being exposed to dry conditions. Additionally, loose media can be compacted to varying degrees throughout the tray, leading to variable dry-down times and inconsistencies across the flat.
- Wasted medium: Not all seeds will germinate, and media is wasted on these non-viable seeds.
Making the Right Choice…
Given the variety of available options, how do you decide which technique is right for you?
Paper towels are a simple, cheap technique that is right for the individual germinating a relatively small number of seeds on a low budget. This technique is best applied with seeds of low value as improved germination rates can be obtained using other techniques.
Direct seeding is the ideal technique used in a production environment in which many, many seeds are germinated at once. In this scenario, the value of each individual seed is reduced relative to the crop as a whole, and less than ideal germination conditions are an acceptable trade-off for reduced labor.
Germination paper is the proper solution if you have the financial resources (~$10) for the additional cost relative to paper towels. With the value of seeds landing at around $10 per seed, this is a fairly minor additional cost to ensure that your seeds have their best chance at germination.
Imbibing is a great additional step to incorporate into your favorite germination protocol as long as you have the ability to provide your seeds with the additional attention and labor that this procedure requires.
Conclusion
Ultimately, the right protocol to employ will depend on a number of factors including available resources, labor constraints, tolerance to risk of failure, etc., and it’s best to experiment with a few different approaches in order to find what works best for you. The rarity and/or value you (however subjectively) attribute to a seed will likely influence the method you will be using. Next, learn how to grow without seeds…
2 thoughts on “What Are The Best Techniques To Germinate Cannabis Seeds?”